Imagine this: you’re trying a fun DIY etching project at home. Maybe you’re personalizing a glass with a special design or adding a unique touch to a metal surface. But then, something goes wrong. The etching isn’t what you expected, or you made a mistake. Now what?
Don’t worry! Removing DIY etching is often possible with the right techniques and a bit of patience. This guide will walk you through different methods to help you fix those etching mishaps and restore your items to their former glory.
Understanding DIY Etching and Its Removal
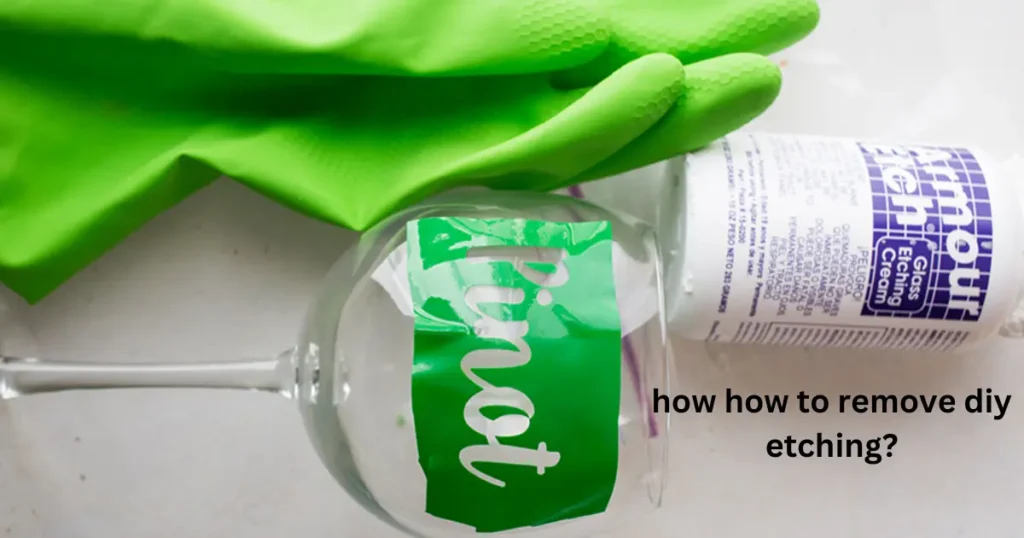
Before we jump into the “how-to,” it’s helpful to understand what etching actually is. Etching involves using an acidic substance to create marks or designs on a material’s surface.1 This process slightly eats away at the top layer, leaving a permanent mark.
The good news is that since DIY etching usually involves milder substances than professional etching, it’s often less deep and easier to remove. The success of removal depends on factors like the material, the etching substance used, and the depth of the etching.
How to Remove DIY Etching from Glass
Glass is a common surface for DIY etching projects. If you’ve made a mistake or want to change your design, here are some methods you can try:
Using Abrasives
- Baking Soda Paste: Mix baking soda with a little water to form a paste. Gently rub this paste onto the etched area using a soft cloth. The mild abrasive action of baking soda can help buff out light etching.
- Toothpaste: Similar to baking soda, toothpaste contains mild abrasives. Apply a small amount of toothpaste to the etching and rub gently in circular motions. Rinse with water and check if the etching has faded.
- Commercial Glass Polishing Compound: For more stubborn etching, consider using a commercial glass polishing compound. These are available at hardware stores and are designed to remove minor scratches and blemishes from glass. Follow the product instructions carefully.
Trying Chemical Methods
- Vinegar: White vinegar’s acidity can sometimes help soften the etched area. Soak a cloth in vinegar and apply it to the etching for a few minutes. Then, gently rub the area and rinse with water.
- Nail Polish Remover: Acetone-based nail polish remover can be effective, but use it cautiously as it can damage some glass types. Test it on an inconspicuous area first. If it’s safe, apply a small amount to a cotton ball and gently rub the etching.
Important Note: When using any of these methods, always test them on a small, hidden area of the glass first to ensure they don’t cause further damage.
How to Remove DIY Etching from Metal
Metal etching is another popular DIY project. If you need to remove etching from metal, here are a few options:
Mechanical Removal
- Sandpaper: For light etching on metal, you can try using fine-grit sandpaper. Gently sand the etched area in the direction of the grain. Be careful not to apply too much pressure, as this can scratch the metal.
- Steel Wool: Similar to sandpaper, fine-grade steel wool can help buff out etching. Use it with light pressure and in the direction of the metal’s grain.
- Rotary Tool with Polishing Attachment: For more stubborn etching, a rotary tool with a polishing attachment can be effective. This method requires more skill and control, so it’s best for experienced DIYers.
Chemical Removal
- Metal Polish: Commercial metal polishes are designed to remove tarnish and minor imperfections. Apply the polish to the etched area and rub it in according to the product instructions.
- Etching Remover: Some specialty stores sell etching removers specifically designed for metal. These products can be effective but should be used with caution, following the manufacturer’s directions carefully.
Safety First: When working with metal, wear gloves and eye protection to prevent injuries.
How to Remove DIY Etching from Stone
Stone etching is often used to personalize tiles, countertops, or decorative items. If you need to remove etching from stone, here’s what you can try:
Using Abrasives
- Baking Soda Paste: Similar to glass, a baking soda paste can be used on stone. Apply the paste to the etched area and gently rub with a soft cloth.
- Pumice Stone: A pumice stone is a natural abrasive that can be effective on some types of stone. Wet the pumice stone and gently rub it over the etching.
Chemical Solutions
- Stone Polish: Commercial stone polishes are formulated to remove stains and minor scratches from stone surfaces.4 Choose a polish that’s appropriate for the type of stone you have and follow the product instructions.
- Etch Remover for Stone: Specialty etch removers for stone are available and can be effective for deeper etching.5 Always test these products in an inconspicuous area first and follow the instructions carefully.
Important: Stone is a porous material, so be cautious when using chemicals. Always work in a well-ventilated area and wear protective gear.
Tips for Removing DIY Etching
Here are some general tips to keep in mind when removing DIY etching from any surface:
- Start with the least aggressive method: Begin with gentle methods like baking soda paste or mild abrasives before moving on to stronger chemicals or tools.
- Be patient: Removing etching takes time and effort. Don’t rush the process, or you might damage the surface.
- Work in a well-ventilated area: If using chemicals, ensure proper ventilation to avoid inhaling fumes.
- Wear protective gear: Protect your hands and eyes with gloves and safety glasses, especially when using chemicals or power tools.
- Test in an inconspicuous area: Before applying any method to the main etched area, test it on a small, hidden part of the item to check for any adverse reactions.
Preventing DIY Etching Mistakes
Prevention is always better than cure. Here are some tips to avoid etching mistakes in the first place:
- Practice on scrap material: Before working on your final piece, practice your etching technique on a similar scrap material.
- Use a stencil: Stencils can help you achieve precise designs and prevent errors.
- Apply etching cream carefully: Follow the etching cream instructions carefully and avoid over-etching.
- Work in a controlled environment: Choose a well-lit and stable workspace to minimize the risk of accidents.
Summary
Removing DIY etching can seem daunting, but with the right approach, it’s often achievable. Remember to assess the material, the type of etching, and the depth of the mark before choosing a removal method. Start with gentle techniques and gradually move to stronger ones if needed.
Always prioritize safety by wearing protective gear and working in a well-ventilated area. And most importantly, be patient and persistent – with a little effort, you can successfully remove that unwanted etching and restore your item to its original beauty.
FAQs
Can I remove etching cream from glass?
Yes, you can often remove etching cream from glass using methods like baking soda paste, toothpaste, or a commercial glass polishing compound.
How do you remove etching from stainless steel?
To remove etching from stainless steel, you can try using fine-grit sandpaper, steel wool, or a metal polish. For deeper etching, a rotary tool with a polishing attachment or a specialized metal etching remover might be necessary.
What removes etching from granite?
Etching on granite can sometimes be removed with a baking soda paste or a pumice stone. For more stubborn etching, consider using a commercial stone polish or an etch remover specifically designed for granite.
Does vinegar remove etching?
Vinegar can sometimes help soften etched areas on glass or stone due to its acidity. However, it might not be effective for all types of etching.
How do you fix a mistake in glass etching?
Fixing a mistake in glass etching depends on the severity of the error. You can try using abrasive methods like baking soda paste or toothpaste. If the etching is deep, you might need to use a glass polishing compound or consider professional help.
