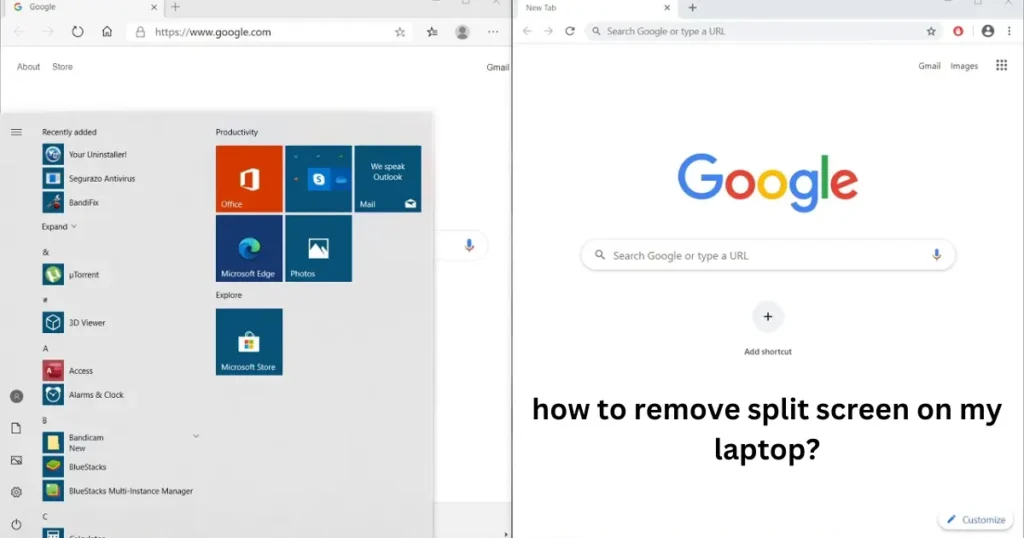
Have you ever accidentally split your laptop screen in half and wondered, “How did I do that?” or more importantly, “How do I get rid of this?” It can be frustrating when you’re trying to work or play and your screen is divided, showing two windows side-by-side.
The good news is that fixing a split screen is usually a quick and simple process. This guide will show you exactly how to remove split screen on your laptop, no matter what operating system you use. We’ll cover Windows, macOS, and even Chrome OS. Let’s get your screen back to normal!
Understanding Split Screen Functionality
Before we jump into the solutions, it’s helpful to understand how split screen, also known as “snap layouts” or “tiled windows,” works.
Basically, your operating system allows you to “snap” windows to different sections of your screen, making it easy to view two or more applications at the same time. This can be a great productivity booster when used intentionally. However, it can be a pain if you accidentally trigger it.
Why Do We Use Split Screen?
Split screen can be super useful for multitasking. Imagine you’re writing a report and need to refer to a document. With split screen, you can have your report on one side and the document on the other, making it easy to compare and write without constantly switching between windows.
Here are some common uses for split screen:
- Comparing documents: See two versions of a file side-by-side.
- Research: Have a web browser open on one side and a word processor on the other.
- Taking notes: Watch a video lecture on one side and take notes on the other.
- Gaming and chatting: Play a game on one side and chat with friends on the other.
How to Remove Split Screen on Windows
Windows offers several ways to use and remove split screen. Let’s look at the most common methods:
Using the Mouse
- Click and drag: Click on the title bar of the window you want to un-split.
- Drag to the center: Drag the window to the center of your screen. This will maximize the window and remove the split screen view.
Using Keyboard Shortcuts
Windows has handy shortcuts for managing split screens:
- Windows Key + Left/Right Arrow: This snaps the active window to the left or right half of the screen. Pressing the keys again will cycle through different snap positions. To remove the split screen, use the arrow keys to move the window back to the center and maximize it.
- Windows Key + Up Arrow: Maximizes the active window.
- Windows Key + Down Arrow: Minimizes the active window or restores it to its previous size if it’s already minimized.
Using Snap Assist
Windows Snap Assist helps you quickly snap windows into place. If you accidentally trigger it, here’s how to get out of split screen:
- Hover over a window: When you drag a window to the side of your screen, Snap Assist will show you other open windows.
- Ignore suggestions: Simply ignore the suggestions and drag your window to the center to maximize it.
| Windows Split Screen Shortcut | Action |
|---|---|
| Windows Key + Left/Right Arrow | Snap active window left or right |
| Windows Key + Up Arrow | Maximize active window |
| Windows Key + Down Arrow | Minimize or restore active window |
How to Remove Split Screen on macOS
macOS has a feature called Split View that lets you work with two apps side-by-side in full screen. Here’s how to turn it off:
Exiting Split View
- Move your cursor to the top of the screen: This will reveal the window controls (the red, yellow, and green buttons).
- Click and hold the green button: A menu will appear with options to enter or exit full screen.
- Select “Exit Full Screen”: This will take both apps out of Split View and return them to their normal windowed mode.
Using Mission Control
Mission Control gives you an overview of all your open windows and spaces. You can use it to manage split screen:
- Open Mission Control: You can do this by swiping up with three or four fingers on your trackpad, pressing the Mission Control key (F3), or using the Control Strip.
- Identify the Split View space: Look for the space where your two apps are side-by-side.
- Hover over the space: Click the “x” that appears in the corner of the space to close it. This will exit Split View.
How to Remove Split Screen on Chrome OS
Chromebooks also have a split screen feature that allows you to view two windows side-by-side. Here’s how to remove split screen on a Chromebook:
Using the Maximize Button
- Hover over the window you want to maximize: The window controls will appear at the top right corner.
- Click the maximize button: This will expand the window to fill the entire screen.
Using Keyboard Shortcuts
Chrome OS has keyboard shortcuts for split screen:
- Alt + [: Snaps the active window to the left half of the screen.
- Alt + ]: Snaps the active window to the right half of the screen.
To remove the split screen, simply press the shortcut for the side where the window is currently snapped. This will return the window to its normal size.
| Chrome OS Split Screen Shortcut | Action |
|---|---|
| Alt + [ | Snap active window left |
| Alt + ] | Snap active window right |
Troubleshooting Split Screen Issues
Sometimes, you might encounter issues when trying to remove split screen. Here are a few tips to help you troubleshoot:
- Check for stuck windows: If a window seems stuck in split screen, try clicking and dragging it again. Sometimes, it just needs a little nudge.
- Restart your computer: A simple restart can often resolve software glitches that might be causing problems with split screen.
- Update your operating system: Make sure your operating system is up-to-date. Updates often include bug fixes and improvements that can address split screen issues.
- Check your display settings: Incorrect display settings can sometimes interfere with split screen functionality. Make sure your resolution and scaling settings are correct.
Taking Control of Your Screen
Accidentally activating split screen can be annoying, but as you’ve learned, it’s easy to fix. Whether you’re using Windows, macOS, or Chrome OS, the solutions are just a few clicks or keystrokes away.
By understanding how split screen works and knowing the right techniques to remove it, you can take control of your screen and use your laptop efficiently.
Remember that split screen can be a powerful tool for multitasking when used intentionally. So, once you’ve mastered how to turn it off, why not try using it to boost your productivity?
FAQs
How do I get my screen back to normal on my laptop?
To get your screen back to normal, you usually just need to maximize the window. You can do this by clicking the maximize button or by dragging the window to the top of the screen. If you’re in split screen mode, you can use keyboard shortcuts or drag the window to the center to exit split screen.
Why is my screen split in half?
Your screen is likely split in half because you accidentally activated the split screen feature. This can happen by dragging a window to the side of the screen or by using keyboard shortcuts. Split screen is designed for multitasking, allowing you to view two windows side-by-side.
How do I get rid of split screen on Windows 11?
Windows 11 uses Snap Layouts for split screen. To remove split screen, simply drag the window you want to maximize to the center of your screen. You can also use keyboard shortcuts like Windows Key + Left/Right Arrow to move the window out of the snap position.
How do I turn off split screen on Mac?
To turn off split screen on a Mac, move your cursor to the top of the screen to reveal the window controls. Click and hold the green button, and then select “Exit Full Screen” from the menu. You can also use Mission Control to close the Split View space.
How do I unsplit my screen on my Chromebook?
To unsplit your screen on a Chromebook, hover over the window you want to maximize and click the maximize button. Alternatively, you can use the keyboard shortcuts Alt + [ or Alt + ] to snap the window out of its current split screen position.